---
title: "How to build an invoicing system with Unified.to"
img: https://s3.us-east-2.amazonaws.com/unified-article-images/how_to_build_an_invoicing_system_with_unified-icon.png
date: 2024-01-03T00:00:00.000Z
tag: Guides
description: "When building a SaaS app for invoicing, you'll need to exchange data within your customers' accounting app of choice. In this guide, we'll cover the basics of..."
url: "https://docs.unified.to/guides/how_to_build_an_invoicing_system_with_unified"
---
# How to build an invoicing system with Unified.to
------
_January 3, 2024_
When building a SaaS app for invoicing, you'll need to exchange data within your customers' accounting app of choice. In this guide, we'll cover the basics of how to access the data you need for your invoicing app with the help of [Unified.to](https://unified.to/)'s unified accounting API.
## Prerequisites
Before starting, be sure to review our [Getting Started with Unified](https://unified.to/blog/start_here_getting_started_with_unified) article. It will walk you through registering for a free account and onboarding. Once you have completed the onboarding steps, go ahead and as you like.
The next step is to deploy the [Unified.to](https://unified.to/) Embedded Authorization widget in your product's user interface (UI). Check out our to learn more.
## Overview
Here are the steps that you will need to support to build your invoicing app:
1. create an invoice
2. pay an invoice or cancel an invoice
Let's go into more detail for each.
## Step 1: Create an invoice
To generate an invoice, gather specific details from your end user, including essential information like the amount, line items/products, due date, and customer details.
[Unified.to](https://unified.to/) can help with two of those values: customer and product.
**Customers**
To get a list of existing customers from your end user's accounting system, simply call the `listCustomers` [API endpoint](https://docs.unified.to/accounting/customer/List_all_customers).
```typescript
import { UnifiedTo } from '@unified-api/typescript-sdk';
const sdk = new UnifiedTo({
security: {
jwt: '',
},
});
export async function getCustomers(connectionId: string) {
return await sdk.accounting.listAccountingContacts({
connectionId,
});
}
```
The connection_id comes in from your end user's authorization of their accounting app and is stored on your end. You can watch our to learn more.
If you need to create a new customer, use our `createCustomer` [API endpoint](https://docs.unified.to/accounting/customer/Create_a_customer).
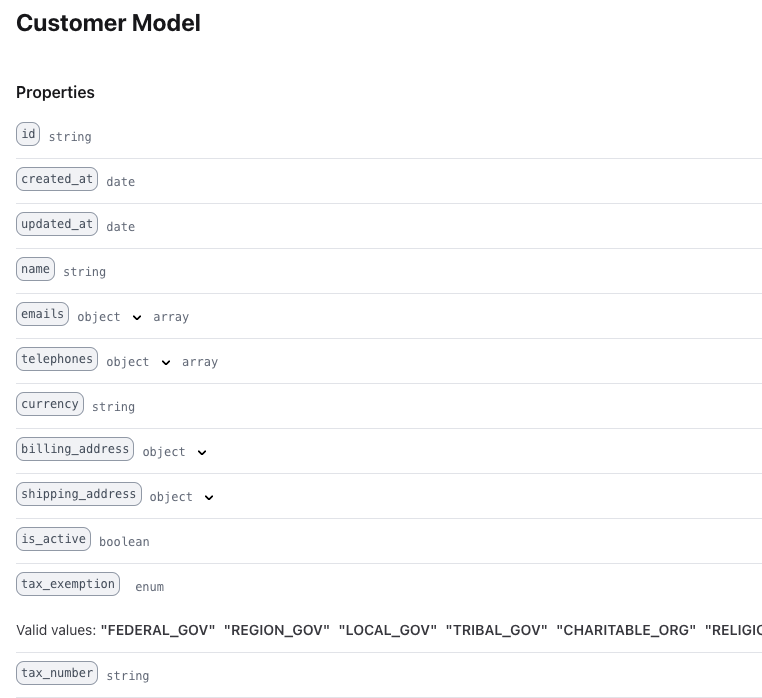
A `Customer` will have specific fields such as `name` , `emails`, `billing_address`, and tax information that will be relevant to your software. See our [API Documentation page](https://docs.unified.to/accounting/customer/model) for more information.
**Products**
Much like getting a list of existing customers, it is easy to get a list of existing products in your end user's accounting app using the `listItems` API endpoint. We call a product, an `Item`, and you can find the full data-model on our [API Documentation page](https://docs.unified.to/accounting/item/model).
```typescript
import { UnifiedTo } from '@unified-api/typescript-sdk';
const sdk = new UnifiedTo({
security: {
jwt: '',
},
});
export async function getItems(connectionId: string) {
return await sdk.commerce.listCommerceItems({
connectionId,
});
}
```
**Chart of accounts & tax rates**
Each line item in an invoice will be associated with a customer, item, account and tax rate in your end user's accounting application.
You can get a list of accounts by calling our `listAccounts` [API endpoint](https://docs.unified.to/accounting/account/List_all_accounts) which returns a list from their 'Chart of Accounts'.
You can also get a list of tax rates by calling our `listTaxrates` [API endpoint](https://docs.unified.to/accounting/taxrate/List_all_taxrates).
**Invoices**
Once the end user has created an invoice, you will want to send that invoice into their accounting system as well.
This is easily accomplished by using the `createInvoice` [API endpoint](https://docs.unified.to/accounting/invoice/Create_a_invoice).
```typescript
import { UnifiedTo } from '@unified-api/typescript-sdk';
import { AccountingInvoice } from '@unified-api/typescript-sdk/dist/sdk/models/shared';
const sdk = new UnifiedTo({
security: {
jwt: '',
},
});
export async function createInvoice(connectionId: string, invoice: AccountingInvoice) {
const result = await sdk.accounting.createAccountingInvoice({
accountingInvoice: invoice,
connectionId,
});
return result.accountingInvoice?.id;
}
```
## Step 2: Paying invoices
Once that invoice is paid, you will need to communicate this to the accounting application. This is accomplished by using the `createPayment` [API endpoint](https://docs.unified.to/accounting/payment/Create_a_payment) which associates a payment with an invoice.
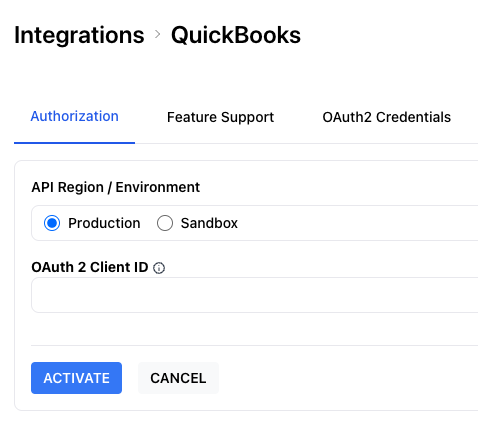
At a minimum, a `Payment` will need an `invoice_id` , a `customer_id` and an `amount`. Some integrations may require additional values to be present, so check that [integration's feature support page](https://app.unified.to/integrations/quickbooks?tab=support). For example, Quickbooks also requires a `currency` field.
## Conclusion
It's easy to support multiple accounting applications in your invoicing app and allow your end user to seamlessly move data between the two. By using Unitied.to's [Unified Accounting API](https://unified.to/accounting) you can add accounting integrations to your product and support your invoicing use case within days.
## Additional Resources
- [Unified Accounting API](https://unified.to/accounting)
- [API Documentation for the Unified Accounting API](https://docs.unified.to/accounting/overview)
- [SDKs for Unified.to](https://docs.unified.to/overview/sdks)
-
-