

How to test webhooks in the Synthetic Data (Sandbox) environment
November 5, 2026
Unified's Synthetic Data environment (called Sandbox in the API) gives you test connections filled with realistic sample data, without needing a real account with the integration. You can create webhooks on these connections to build and test your webhook handler before going live.
This guide covers doing that from the Unified app, the API and the Unified MCP server.
How webhooks behave in Synthetic Data
Before you start, here's what's different from Production:
- Only virtual webhooks are supported. Native webhooks rely on the integration pushing events to Unified, and there's no real integration behind a Synthetic Data connection. Virtual webhooks poll the connection on an interval and send you any new or changed records, so they work the same way they do in Production.
- Sample data doesn't change on its own. Synthetic Data is generated once when you activate the integration. To receive
createdorupdatedevents, create or update records yourself through the API on that connection (see Generate events). - Payloads contain the integration's supported fields only. Each record includes the fields that integration supports for that object, the same as in Production. You can narrow this further with the webhook's
fieldssetting. rawis always empty ({}), because there's no response from a real integration.- Events that only support native webhooks can't be tested here. If an object or event is native-only for an integration, you'll need a real connection to test it.
💡 Virtual webhooks require a paid plan. If you use an environment-restricted API key, it must have access to the Sandbox environment.
What you'll need
- A Unified workspace on a plan that includes virtual webhooks
- A publicly reachable URL for your webhook handler. If you're developing locally, use a tunnel such as ngrok or
npx localtunnel --port <port>. - Your workspace API key (for the API and MCP options)
Step 1: Create a Synthetic Data connection
In the app
- Use the environment switcher to change to Synthetic Data.
- Go to Integrations, open the integration you want (for example HubSpot) and activate it. You don't need to configure credentials; they're mocked in Synthetic Data. Activating it generates the sample data.
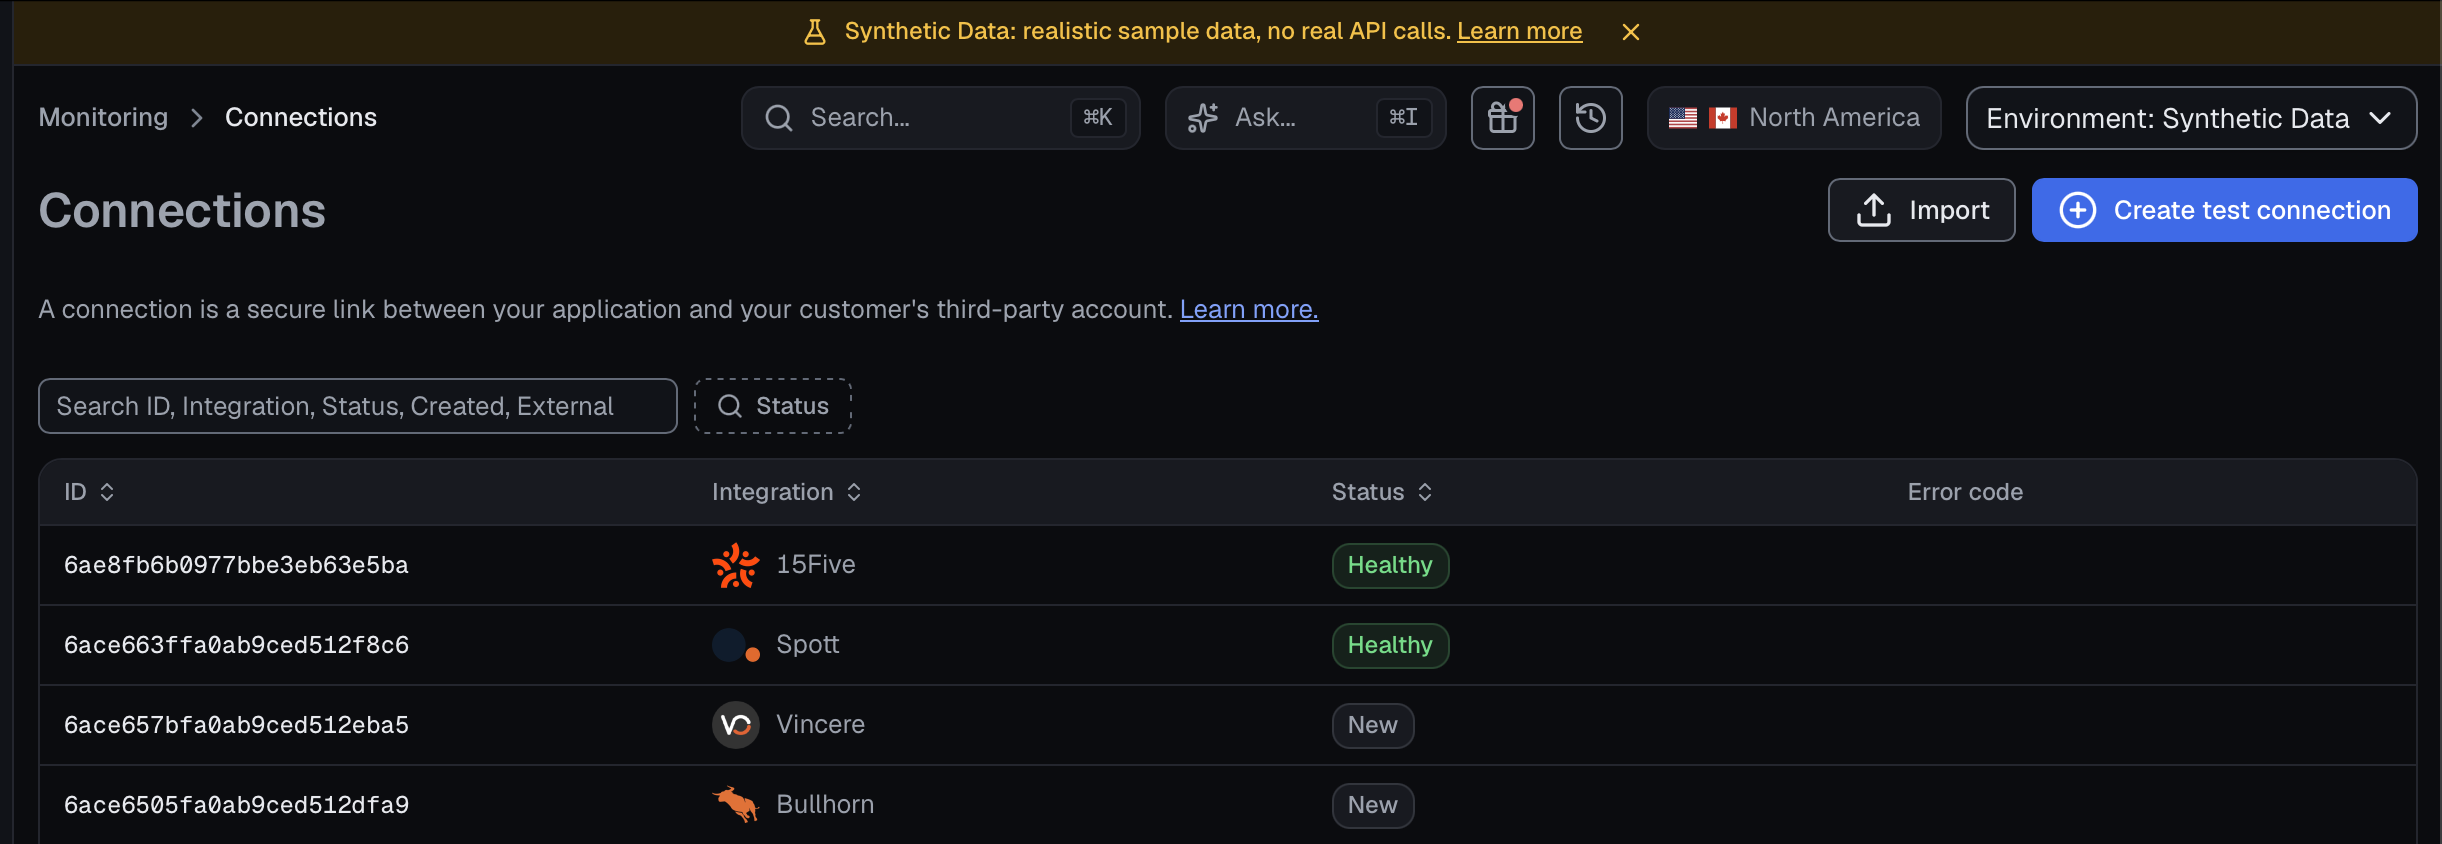
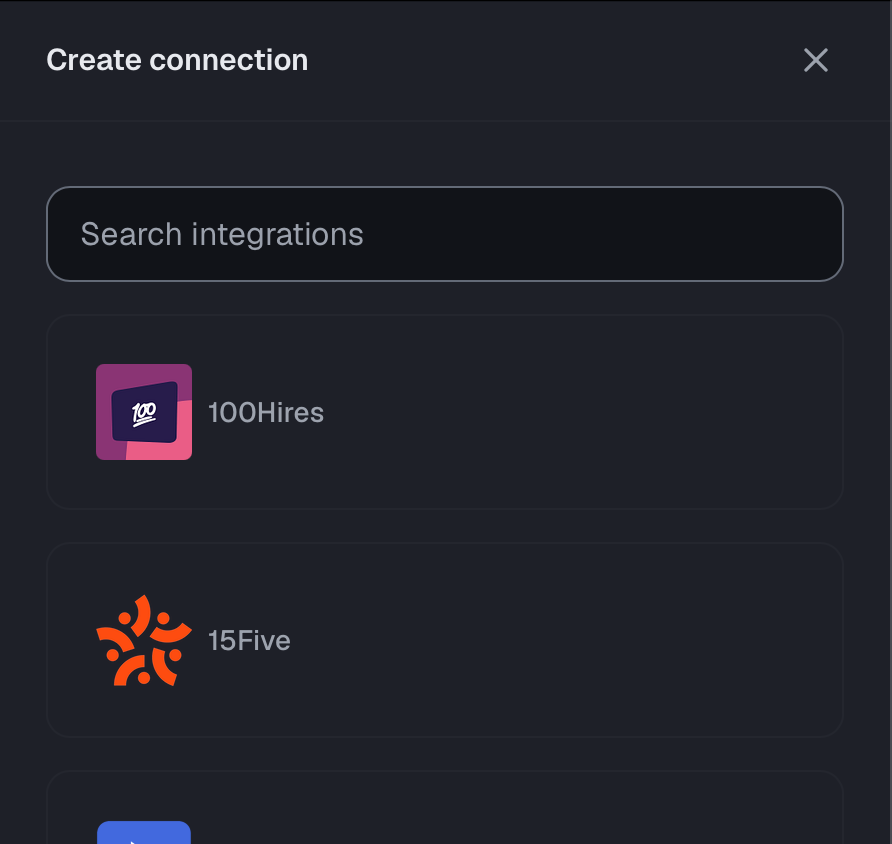
- Go to Connections and click Create test connection, then pick the integration.
With the API
Activate the integration in the Synthetic Data environment from the app first, then create a connection with environment set to Sandbox. No auth is needed:
curl -X POST https://api.unified.to/unified/connection \
  -H "Authorization: Bearer $UNIFIED_API_KEY" \
  -H "Content-Type: application/json" \
  -d '{
    "integration_type": "hubspot",
    "environment": "Sandbox",
    "categories": ["crm"],
    "permissions": ["crm_contact_read", "crm_contact_write"]
  }'
Save the returned id: that's your connection_id.
With the MCP server
Connect your AI client to https://api.unified.to/mcp with Authorization: Bearer <your workspace API key>, then ask it to create the connection. It uses the create_unified_connection tool with environment: "Sandbox".
Step 2: Create a virtual webhook
In the app
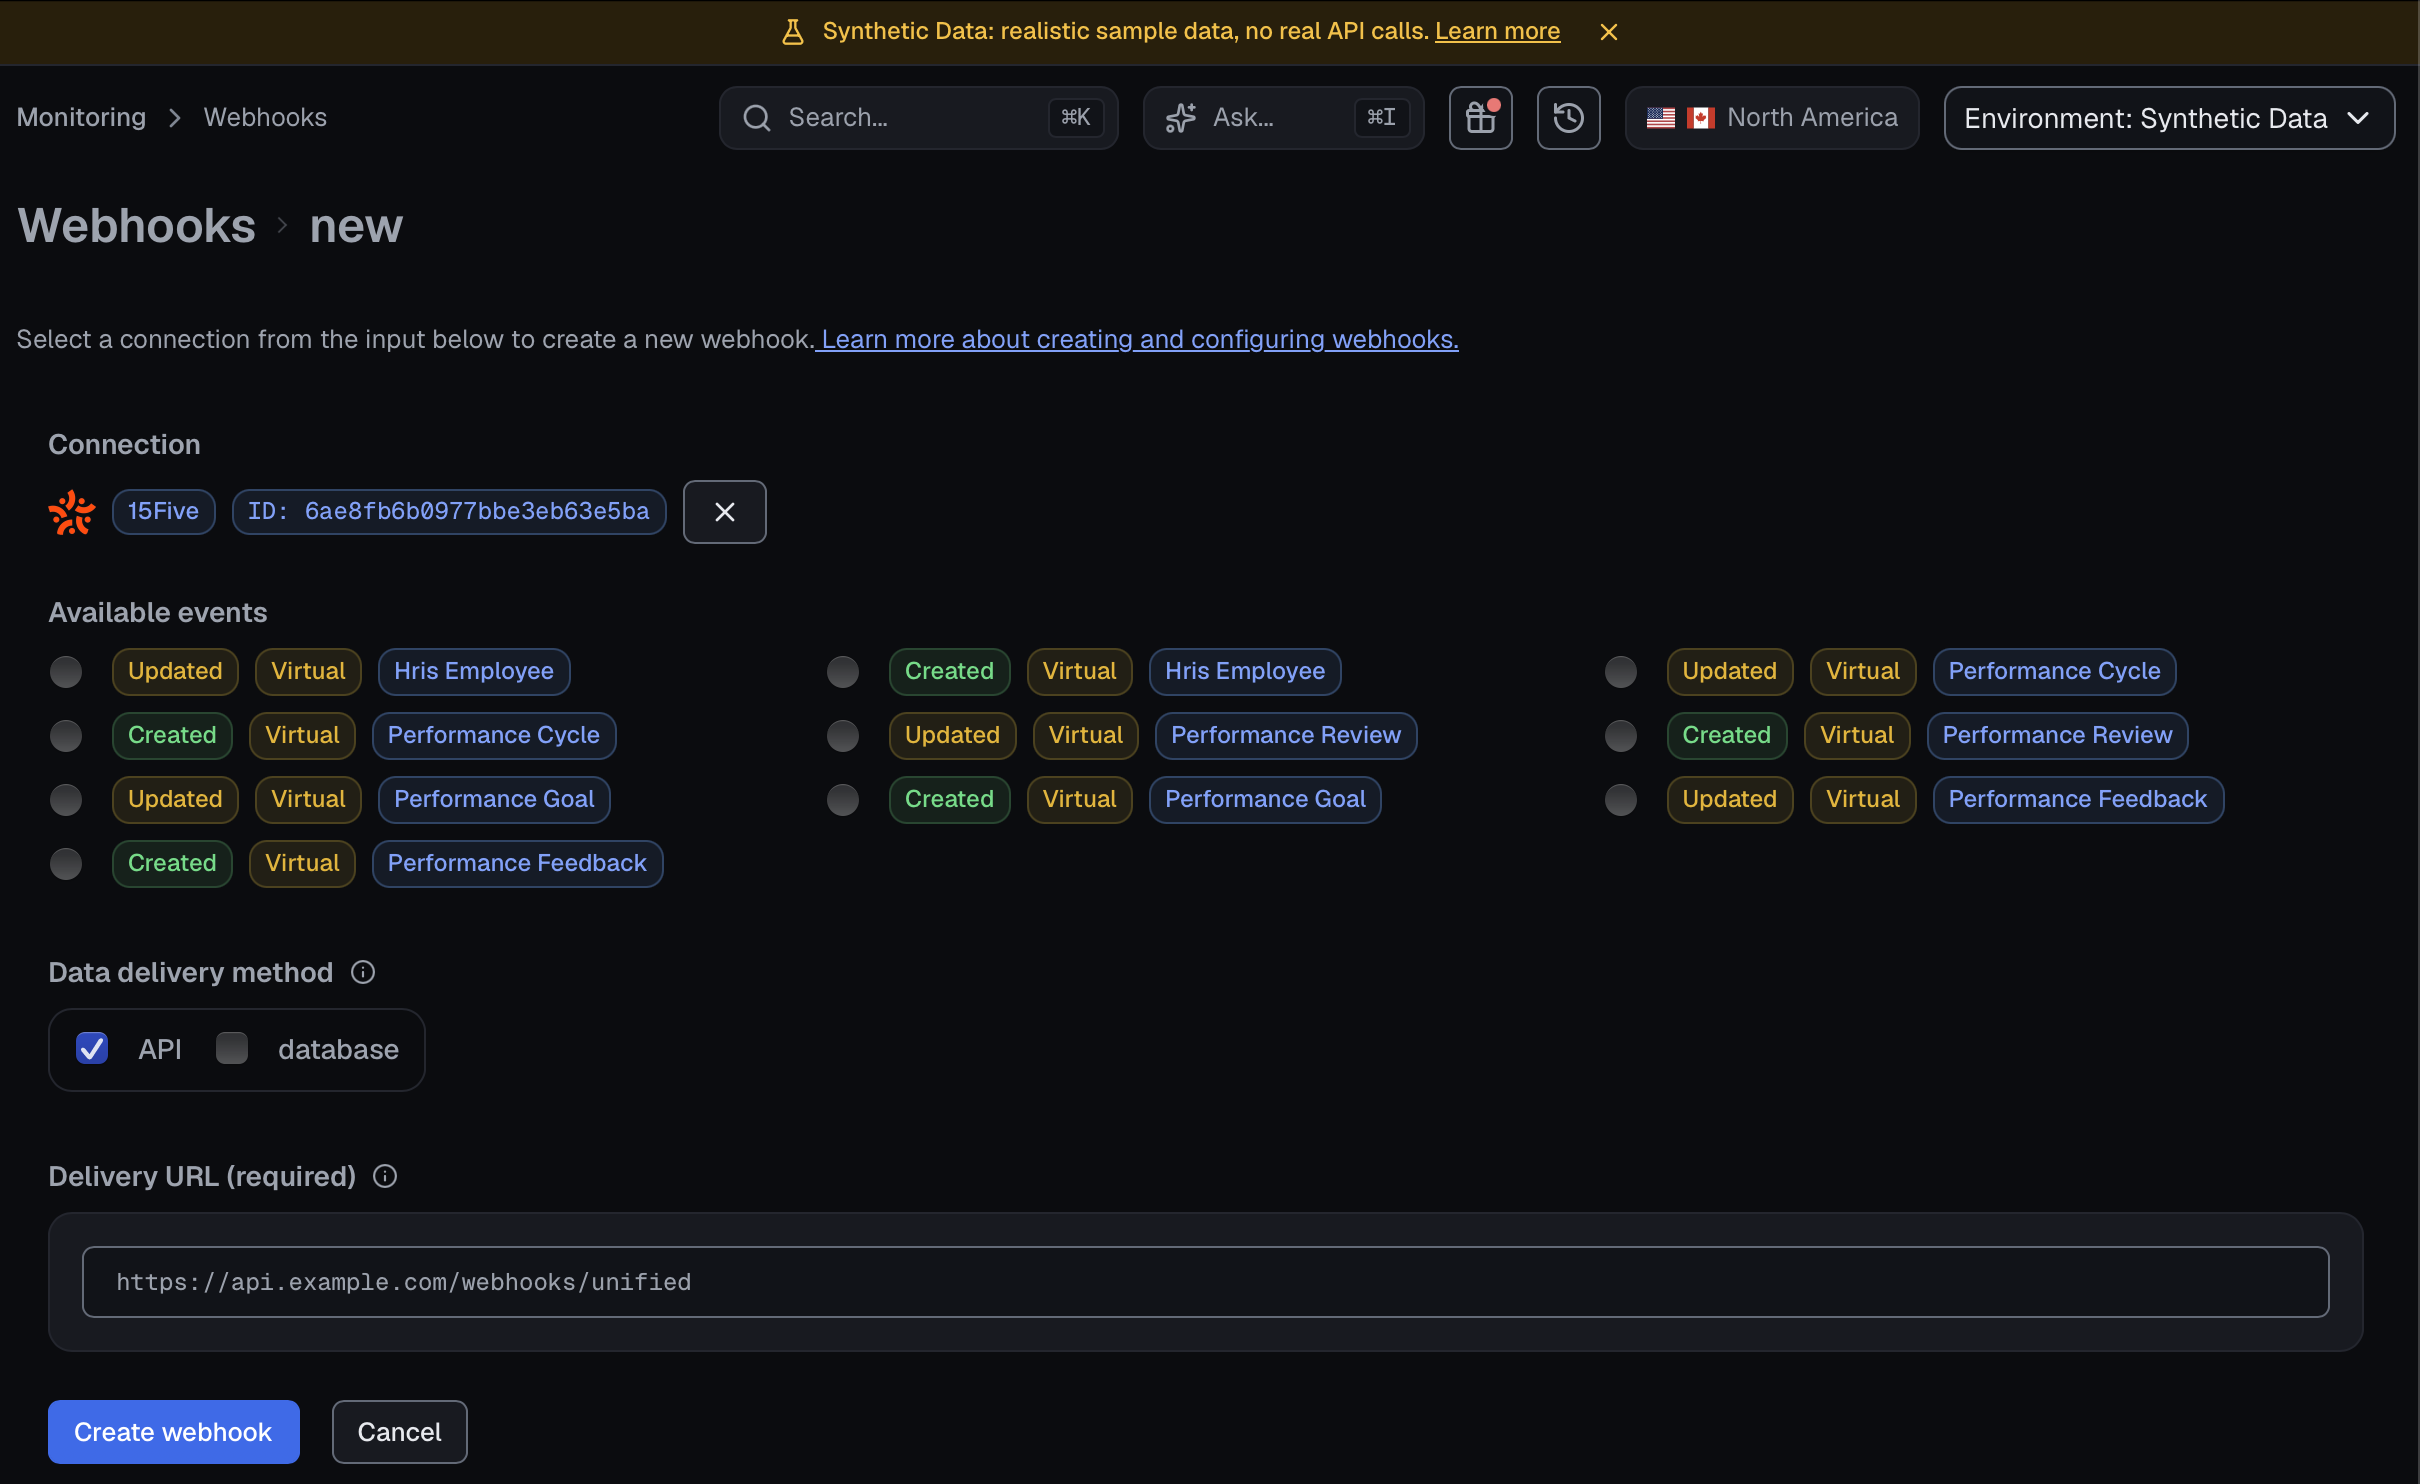
- Go to Webhooks and create a new webhook.
- Select your Synthetic Data connection.
- Pick the object and event, and make sure you choose the option with the yellow Virtual badge. Native options won't work in Synthetic Data.
- Enter your webhook URL.
- Optional settings:
- Interval: how often to check for changes (as low as 1 minute on paid plans).
- Included fields: limit the payload to specific fields. Leave all unchecked to receive every supported field.
rawisn't included by default, and it's empty in Synthetic Data anyway. - Include all / initial sync: send the existing sample records when the webhook starts.
- Save.
With the API
curl -X POST "https://api.unified.to/unified/webhook?include_all=true" \
  -H "Authorization: Bearer $UNIFIED_API_KEY" \
  -H "Content-Type: application/json" \
  -d '{
    "connection_id": "<your_connection_id>",
    "object_type": "crm_contact",
    "event": "created",
    "hook_url": "https://your-server.example.com/webhook",
    "webhook_type": "virtual",
    "interval": 1
  }'
- Always set
"webhook_type": "virtual"on Synthetic Data connections. If you leave it out, the default can benativefor some integrations, and the request is rejected with "Cannot create native webhooks in Sandbox environment". include_all=truesends the existing sample records on the first run, so you'll get a payload straight away. Leave it out to receive only new changes.
With the MCP server
Ask your AI client to create a virtual webhook for the connection. It uses the create_unified_webhook tool with the same fields as the API (connection_id, object_type, event, hook_url, webhook_type: "virtual", interval). You can check it with list_unified_webhooks or get_unified_webhook.
Step 3: Check that your endpoint is reachable
In the app, open the webhook and click Send test event. Unified sends your URL a payload with an empty data array and an x-unified-test: true header, and shows you the status code your server returned. This checks connectivity and signature handling only; it doesn't send sample records.
Step 4: Generate events
Because Synthetic Data doesn't change on its own, create or update records on the same connection to produce events:
# created event
curl -X POST https://api.unified.to/crm/<connection_id>/contact \
  -H "Authorization: Bearer $UNIFIED_API_KEY" \
  -H "Content-Type: application/json" \
  -d '{ "name": "Test Contact", "emails": [{ "email": "test@example.com" }] }'

# updated event
curl -X PUT https://api.unified.to/crm/<connection_id>/contact/<contact_id> \
  -H "Authorization: Bearer $UNIFIED_API_KEY" \
  -H "Content-Type: application/json" \
  -d '{ "title": "Updated title" }'
With the MCP server, use the connection's tools (for example create_crm_contact or update_crm_contact), or just ask your AI client to create or update a record.
Step 5: Run the webhook now
You don't have to wait for the interval:
- App: open the webhook and click Run now.
- API:
PUT https://api.unified.to/unified/webhook/{id}/trigger - MCP: the
update_unified_webhook_triggertool
Unified checks the connection for changes immediately and sends anything new to your URL.
What you'll receive
A webhook delivery looks like this:
{
  "data": [ { "id": "...", "name": "Test Contact", "emails": [ ... ], "raw": {} } ],
  "webhook": { "id": "...", "connection_id": "...", "object_type": "crm_contact", "event": "created", ... },
  "type": "VIRTUAL",
  "nonce": "...",
  "sig256": "..."
}
typeisINITIAL-PARTIAL/INITIAL-COMPLETEwhile existing records are being sent (when you used include all), thenVIRTUALfor later changes.- Verify
sig256with your workspace secret the same way you would in Production.
Troubleshooting
| Problem | What to check |
|---|---|
| "Cannot create native webhooks in Sandbox environment" | Choose the Virtual option in the app, or set "webhook_type": "virtual" in the API. |
| "... does not support webhook event ..." | That integration doesn't support webhooks for this object or event. Try another object or integration. |
| "Virtual webhooks are not supported on your ... plan" | Virtual webhooks need a paid plan. |
| "not authorized to access this environment" | Your API key is restricted to another environment. Use a key with Sandbox access. |
| The webhook is created but nothing arrives | Sample data is static. Create or update a record, then click Run now. If you didn't use include all, no existing records are sent. |
| Fields are missing from the payload | Only fields the integration supports for that object are sent. Check the integration's supported fields, and the webhook's Included fields setting. |
raw is empty | Expected in Synthetic Data: there's no real integration response. |
Going to Production
When you're ready, create a connection in Production with a real account and recreate the webhook. In Production you can also use native webhooks where the integration supports them. Your handler code doesn't need to change: the payload format is the same.