Get started with Unified.to
This quick start guides you through connecting your application to third-party platforms using Unified.to. You'll see how to:
- Set up your Unified.to account and credentials
- Activate integrations in the sandbox environment
- Add the Authorization component to your app
- Make your first API call
Want to play around with the Unified API right away? Download Postman and import our Postman collection to start making API calls. You'll need your workspace ID and API key first.
Set up your workspace
- Create your Unified.to account
- Sign up at app.unified.to/login
- Log in to your dashboard
- Get your API credentials
- Navigate to Settings > API Keys
- Copy your Workspace ID and API Key
- Store these securely where you can reference them in your app, such as in an
.envfile - you'll need them for API calls
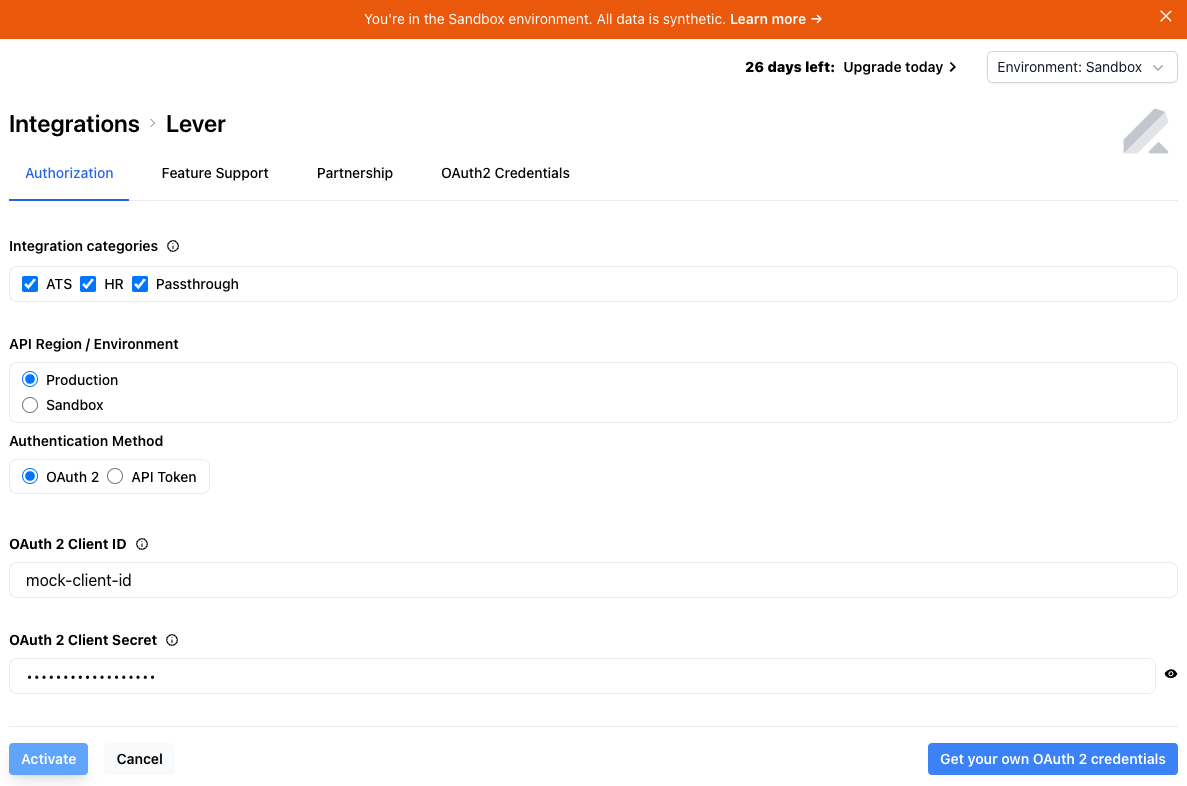
- Activate an integration in the sandbox environment
- Go to Integrations
- Select Sandbox from the environment dropdown in the top-right corner of the screen
- Search for your desired integration
- Click the integration card and select Activate (don't worry about filling in credentials - they're all mocked in the sandbox environment)

Add authorization to your app
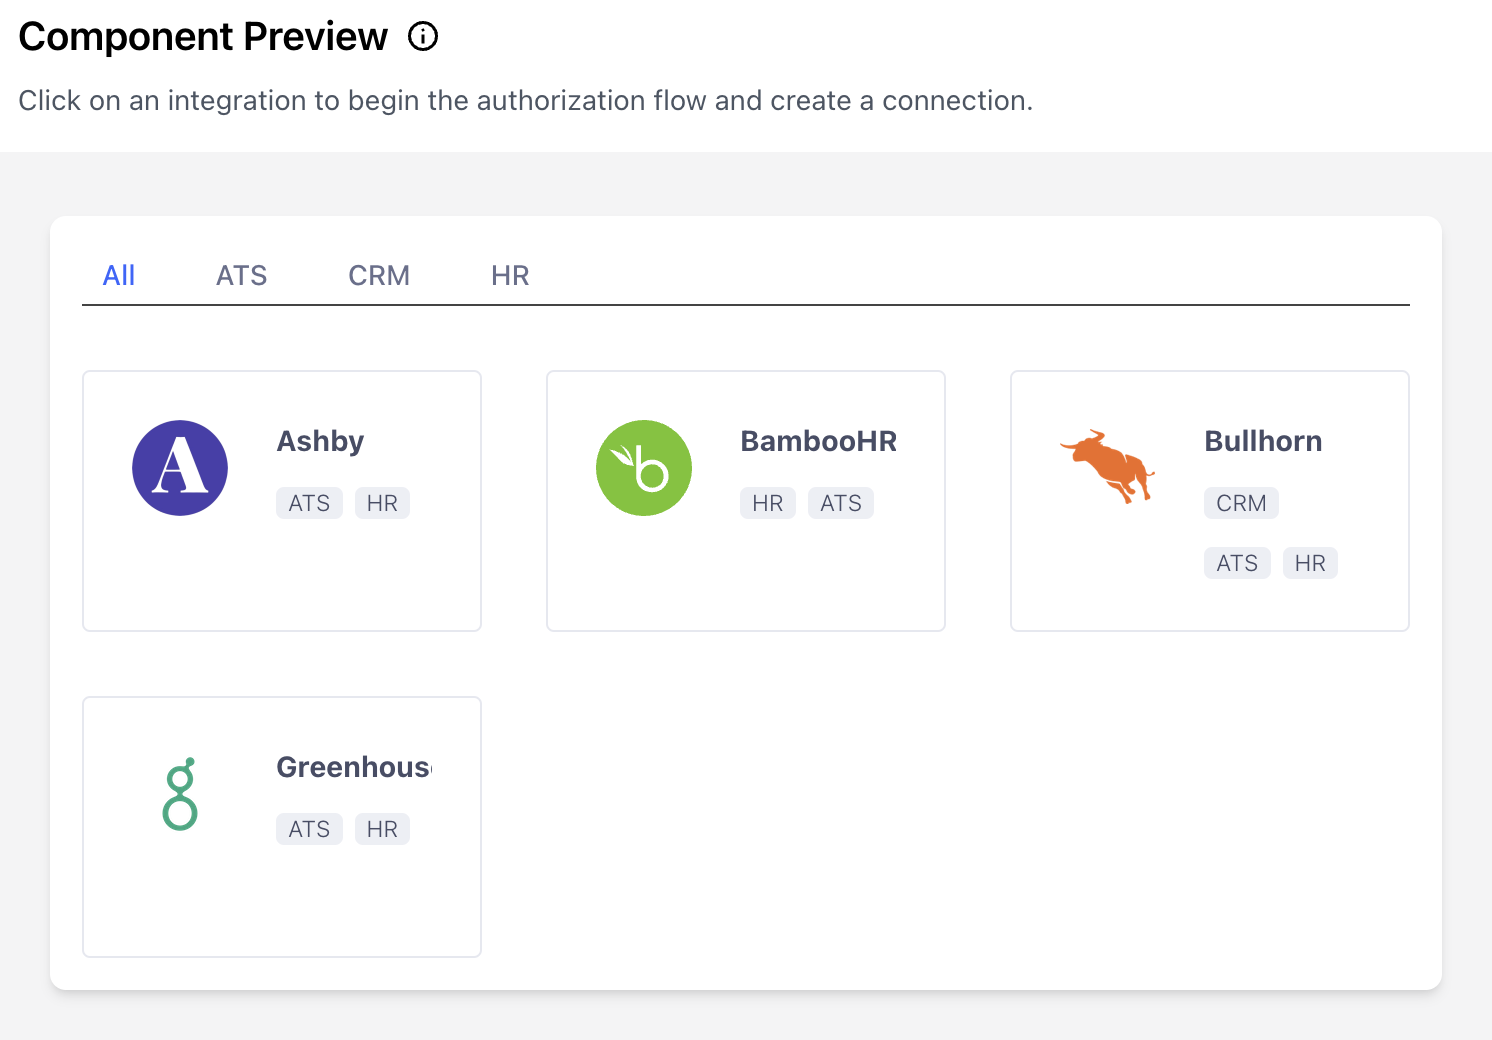
Your users need to authorize your application to access their third-party accounts (like Lever, HubSpot, etc.). Unified.to provides an embedded Authorization component that handles this process securely. When users click on an integration in this component, they'll be redirected to an authorization page, then returned to your app with a unique connection ID that you'll use for making API calls.

Add this to your app:
<script src="https://api.unified.to/docs/unified.js?wid=YOUR_WORKSPACE_ID&did=unified_widget&env=Sandbox"></script>
<div id="unified_widget"></div>
Replace YOUR_WORKSPACE_ID with the Workspace ID you copied earlier.
(Want to use a Javascript framework or make the API call from your server? Discover more options at app.unified.to/embed)
Make your first API call
After successful authorization, you'll receive a connection ID in the callback URL e.g. localhost:3000?id={connection_id}. Save this in your database and use it to make API calls.
Our Unified endpoints generally follow the pattern of {API_CATEGORY}/{CONNECTION_ID}/{DATA_OBJECT}. For example:
CRM (HubSpot, Salesforce, etc.)
// Fetch contacts
const response = await fetch(`https://api.unified.to/crm/${connectionId}/contact`, {
    headers: {
        Authorization: `Bearer ${API_KEY}`,
    },
});
ATS (Lever, Greenhouse, etc.)
// Fetch candidates
const response = await fetch(`https://api.unified.to/ats/${connectionId}/candidate`, {
    headers: {
        Authorization: `Bearer ${API_KEY}`,
    },
});
HRIS (BambooHR, Workday, etc.)
// Fetch employees
const response = await fetch(`https://api.unified.to/hris/${connectionId}/employee`, {
    headers: {
        Authorization: `Bearer ${API_KEY}`,
    },
});
Refer to our API Reference for the category and data object you are interested in.
Next steps
When you're ready to move on to production environments, review these guides to set yourself up for success:
- Learn how to work with webhooks
- Configure scopes for your authorization flow
- Associate your end-users with connections
- SDKs for popular languages
Need help?
- Join our Discord
- Email hello@unified.to

